Getting Your Heat Just Right in Electronics Assembly
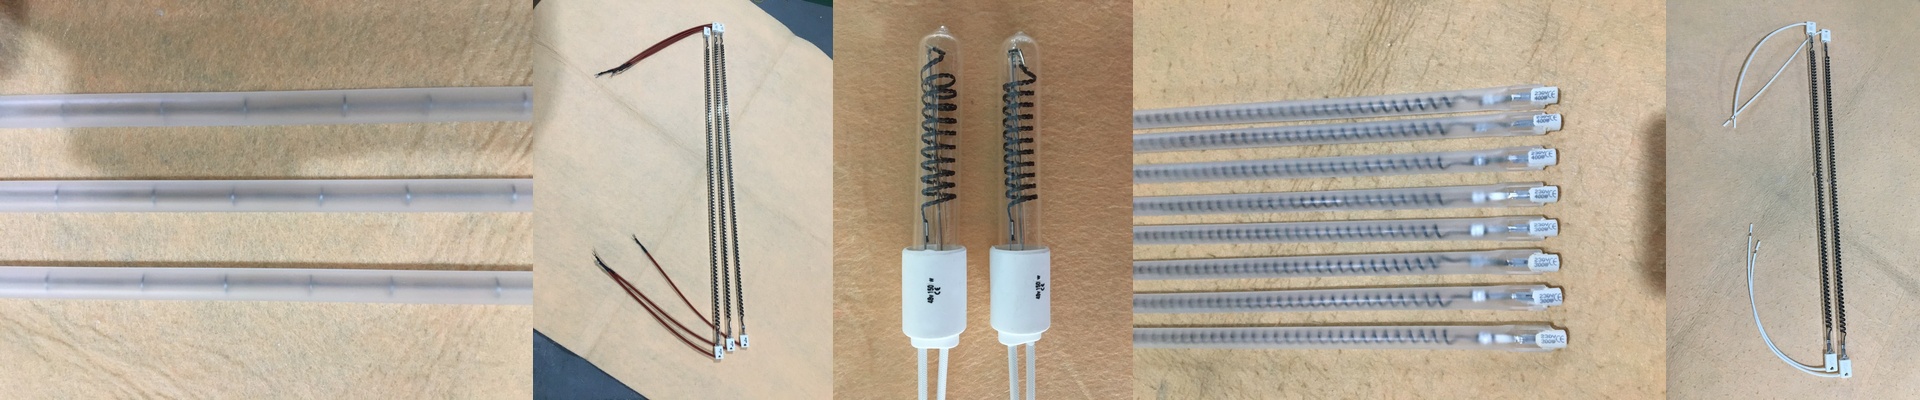
Nobody wants to deal with warped boards or fried components. It’s a nightmare. That’s why we obsess over the details of our infrared (IR) heating lamps—specifically how the heat is packed in and how it actually hits your parts.
Let’s talk power and voltage
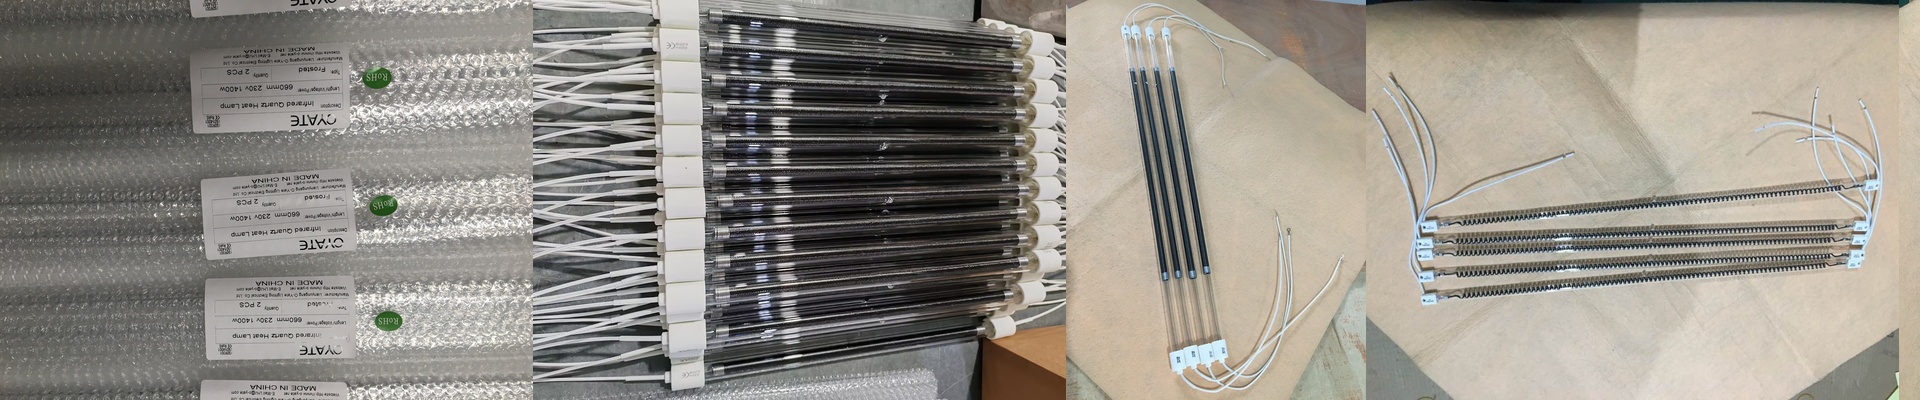
We build our tubes to keep up with high-volume lines. Here’s the thing: when you run a high-wattage lamp at the right voltage, you get a concentrated blast of heat. This cuts down your ramp-up time. Your line moves faster. Simple as that. But a word of caution. Check your power supplies. They need to match the wattage of the replacement tube exactly. I’ve seen people try to “over-volt” a lamp just to get it hot faster. Don’t do that. You’ll just burn out the filament and be right back where you started.
The gear: Quartz and heat transfer
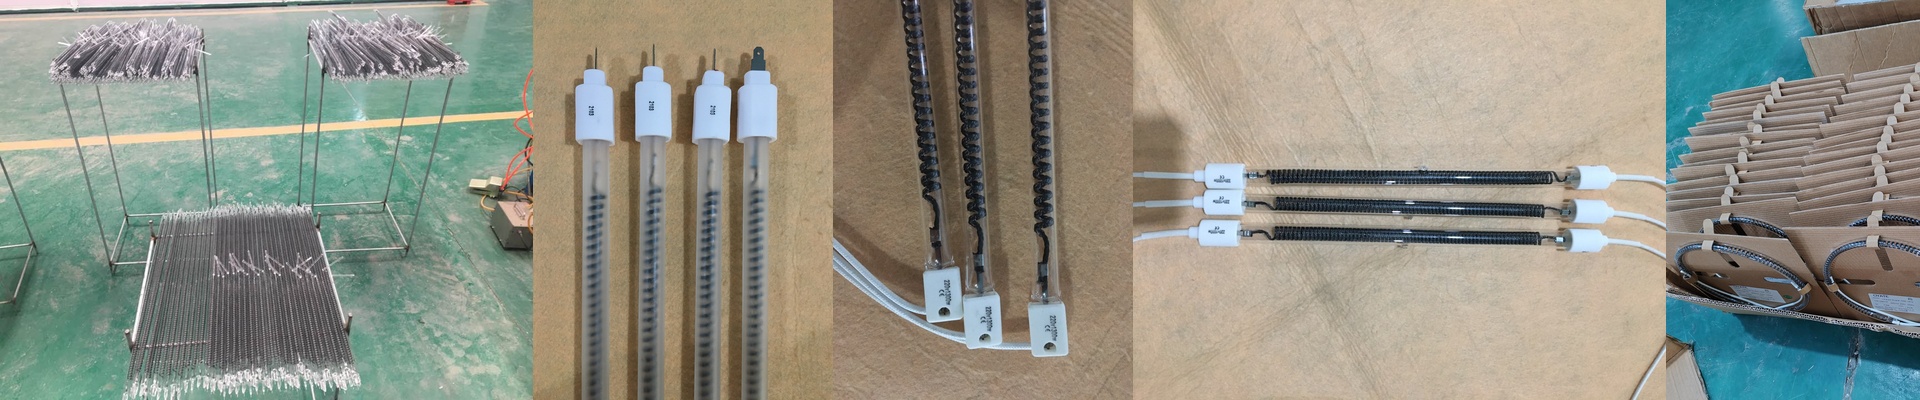
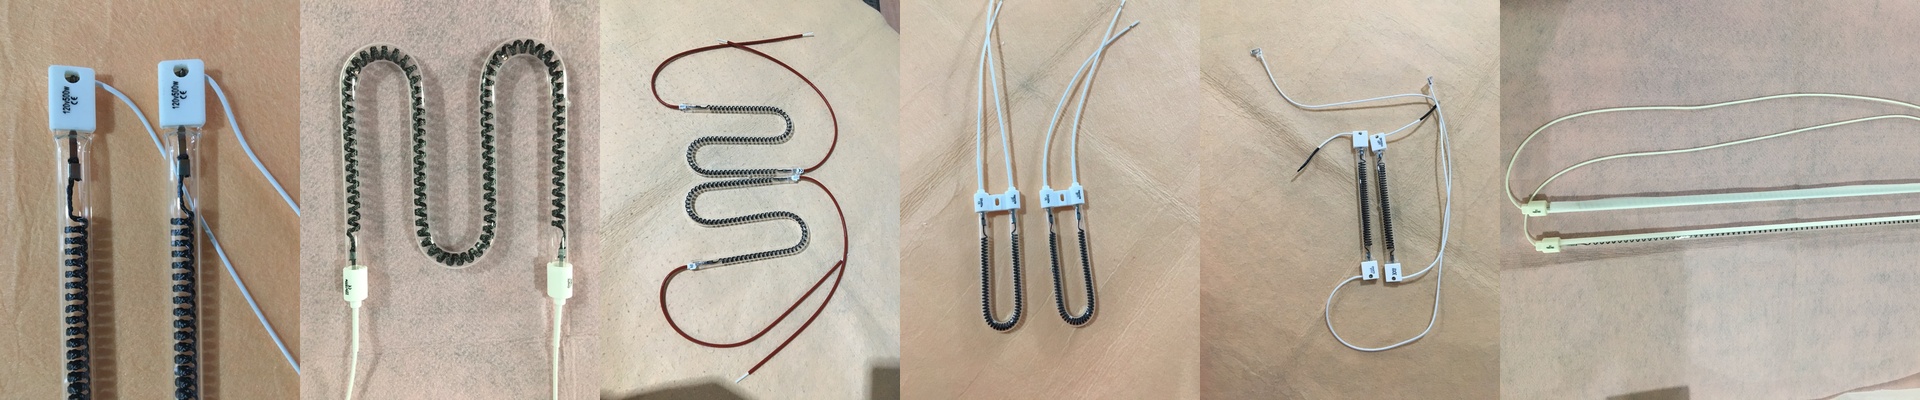
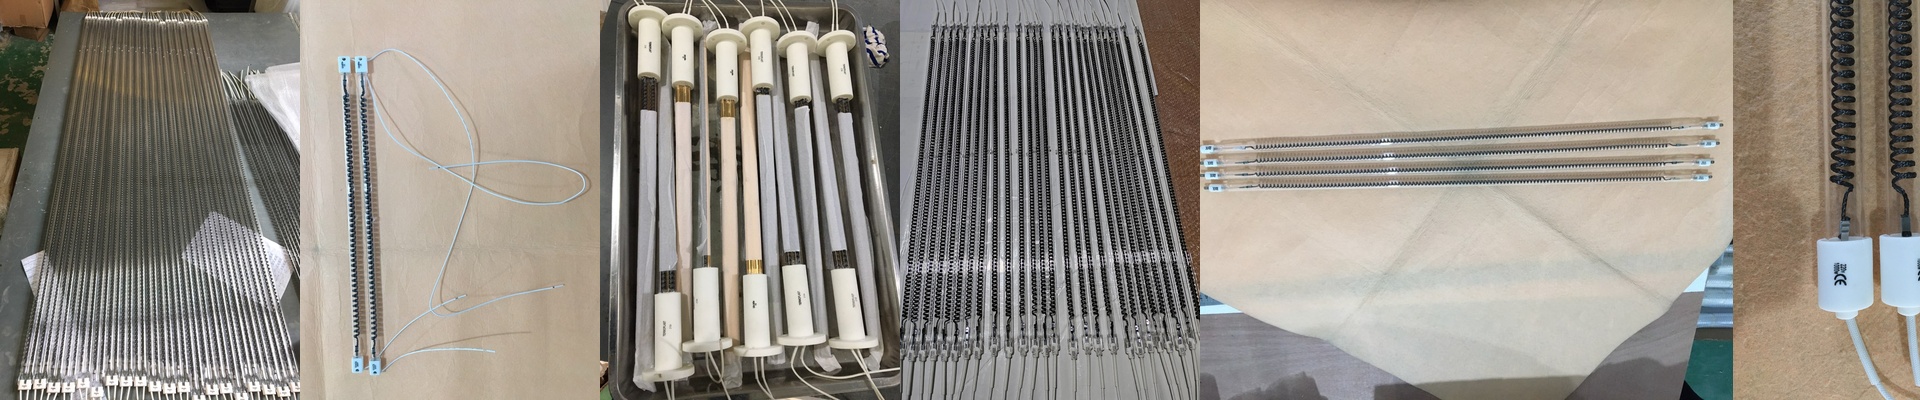
We use high-purity quartz glass because these things take a beating. Constant heating and cooling is brutal on materials, but this glass handles it. The real magic is that shortwave IR radiation passes right through the glass without getting trapped. It pushes the heat straight into your workpiece. Plus, we offer a few different end-cap setups. We want these to be easy, drop-in replacements for whatever rig you’re already using. Just make sure they’re seated perfectly in the socket. If they’re loose, you’ll get arcing at the terminals, and that’s a problem you don’t want.
Making it work in your shop
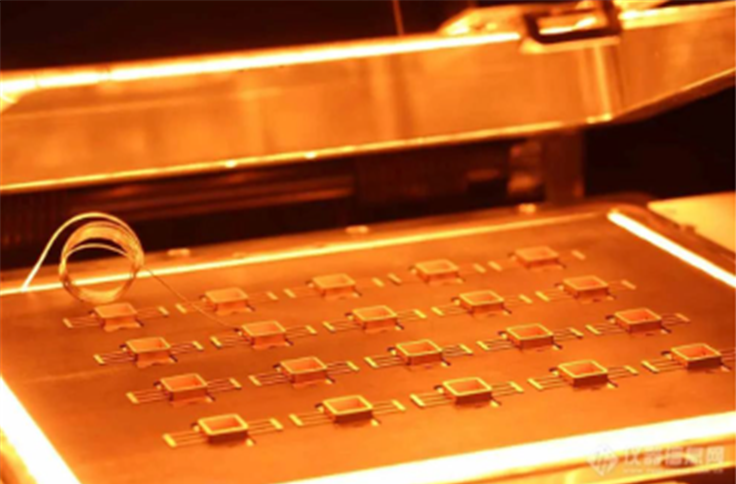
These lamps are great for curing adhesives or pre-heating PCBs, and they don’t take up much space. That leaves you more room for your conveyor hardware. But keep this in mind: high-output IR lamps get hot. Really hot. If your cabinet ventilation isn’t up to the task, that ambient heat will build up. When that happens, your temperature controllers will start to drift, and your precision goes out the window. We’ve benchmarked our output against the biggest global brands. That way, when you swap in our lamps, your thermal profile stays exactly where it needs to be.