Getting Infrared Heating Right for Electronic Repair
We spent ten years playing the “white-label” game before we finally decided to build our own infrared lamps. It wasn’t about ego; it was about stability. When you’re fixing a smart lock or working on industrial electronics, the last thing you want is a heat source that overshoots the mark and fries a PCB. That’s a mistake you only make once.
The trick to heat density
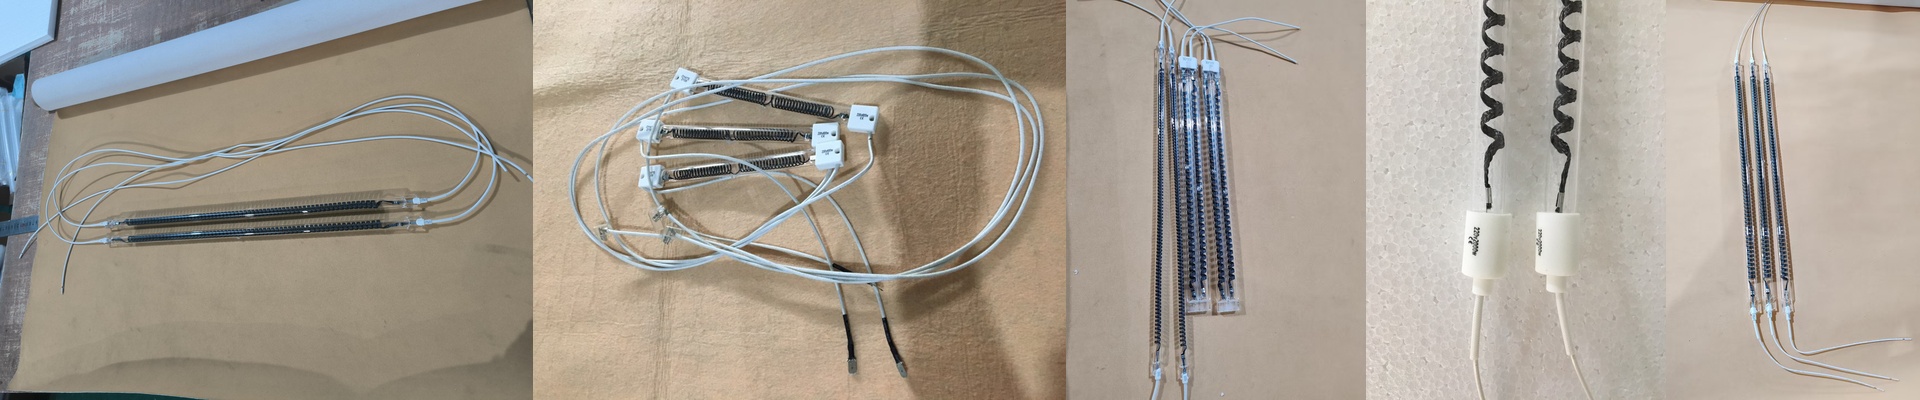
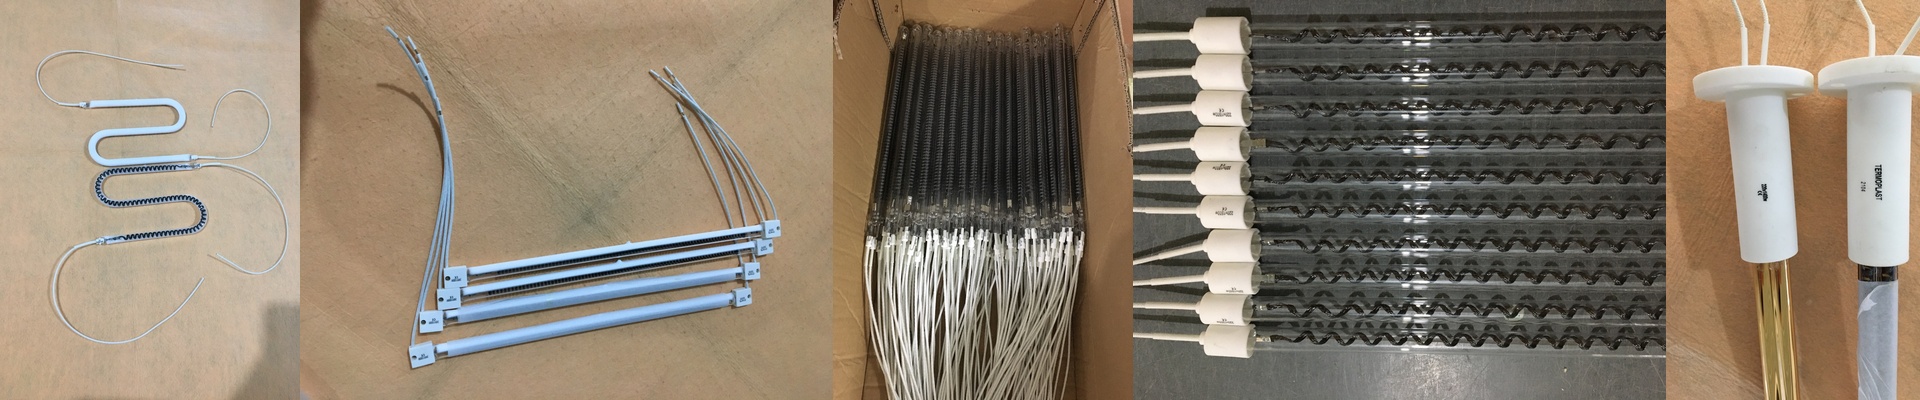
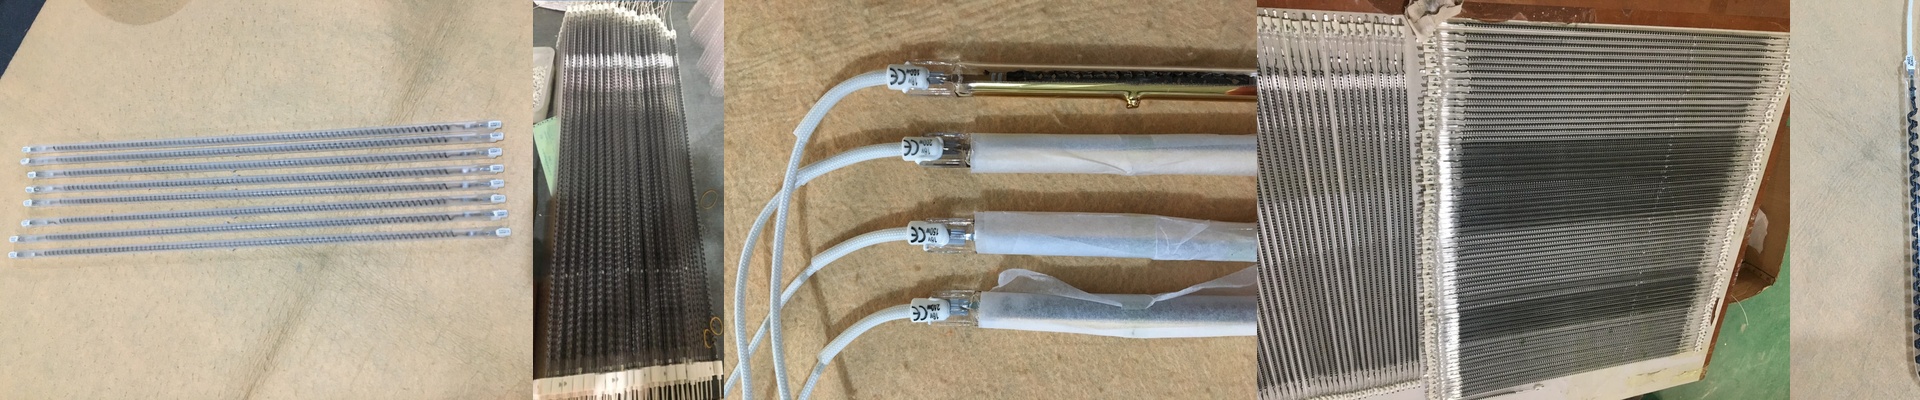
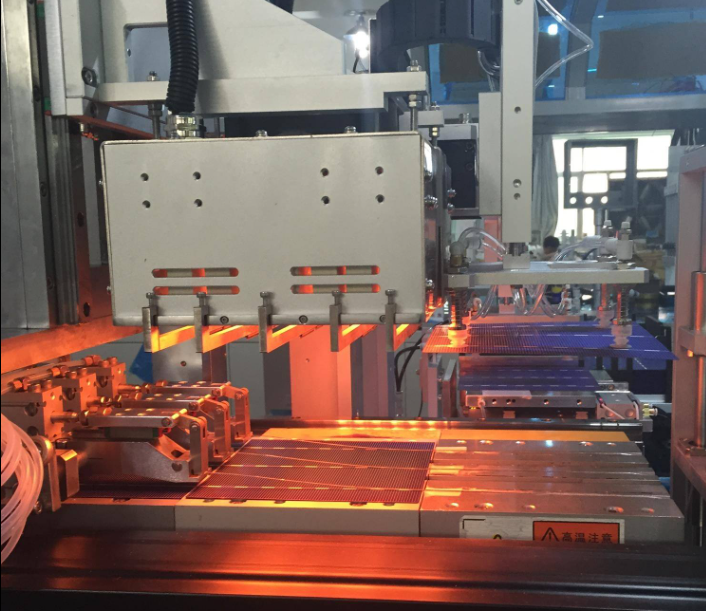
Most of our lamps are designed to pack a punch in a small space. By pushing a lot of wattage into a short quartz tube, we create a tight, concentrated heat zone. This is a lifesaver when you need to hit one specific spot on a smart lock assembly without melting the plastic housing around it. But here’s the catch: you can’t just throw power at it. If your power supply isn’t matched to the tube’s wattage, you’ll burn through the filament way faster than you should.
Why the glass matters
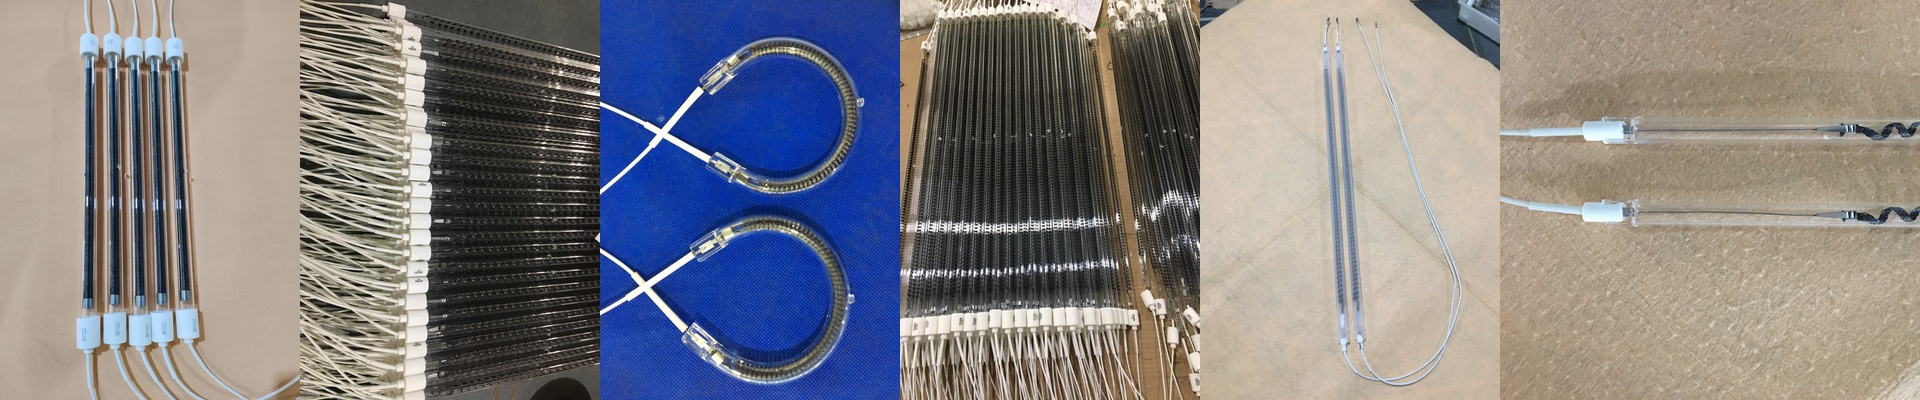
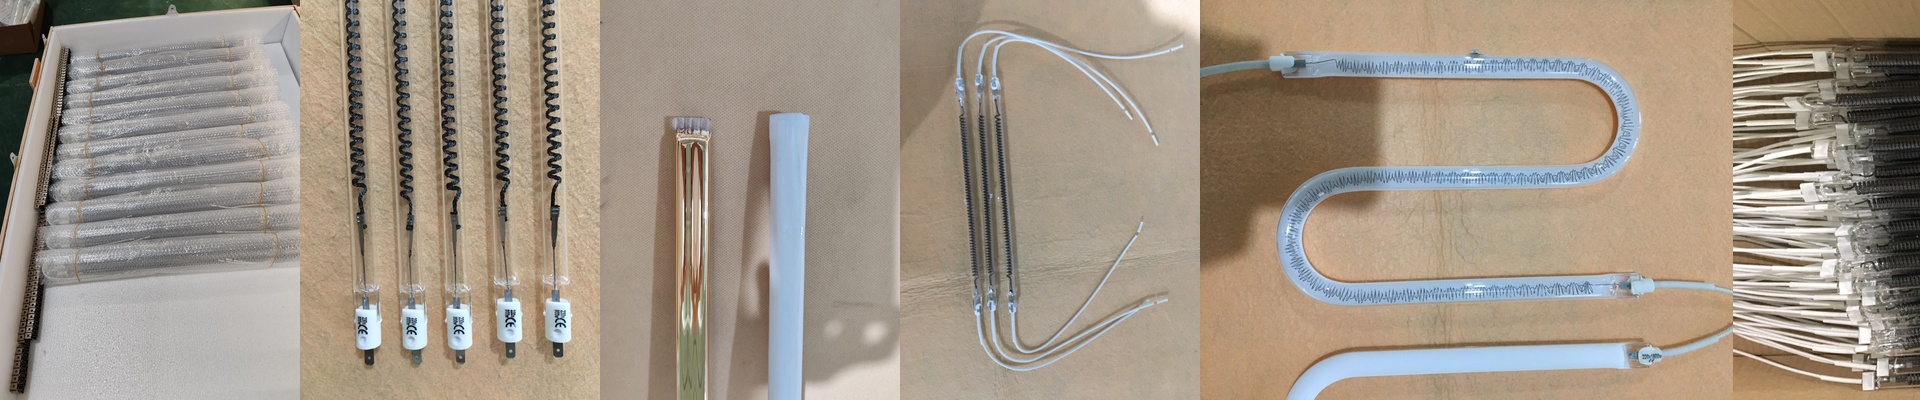
We use high-purity quartz because these things take a beating. They go from ice cold to blistering hot in seconds, over and over again. We also use a halogen cycle inside the tube. It stops the filament from evaporating too quickly, which basically means the lamp lasts longer. Depending on what you’re doing, you might want different coatings. Short-wave radiation hits the target fast. Medium-wave takes its time but sinks deeper into the material. It just depends on what you’re trying to melt or move.
Making it work in your shop
We stuck with standard connectors like R7s or Sk15. Why? Because we wanted these to be drop-in replacements. You shouldn’t have to rewire your entire repair station just to upgrade a bulb. Plus, a tight fit means no arcing at the terminals, which keeps things safe. One thing to watch out for: these lamps gethot. Really hot. If your housing doesn’t breathe, that heat soaks back into the ends of the lamp and ruins the seal. Keep the air moving, and your lamps will actually hit their rated lifespan.